
Leeming LUT Pro™ is the world's first unified, corrective Look Up Table ( LUT ) system for supported cameras, designed to maximise dynamic range, fix skin tones, and provide an accurate Rec709 image with zero effort. The LUTs have an average measured dE(2000) <0.5, meaning they are visually indistinguishable to the human eye.
Shooting with multiple camera types is now much easier, because you are starting with a common, colour-matched baseline.
You can also optionally purchase the specially matched Quickie Creatives™ for a one-touch professional grade designed specifically to follow the corrective LUTs. It's as easy as "Apply Leeming LUT Pro™, apply Quickie Creative™, done!"

Purchase & Licencing
Select the LUTs you wish to purchase using the PayPal links below. All prices are in US Dollars (USD) and will be auto converted to your currency at the checkout page. You can also pay with Bitcoin (BTC) if you prefer.
Please note that due to the digital nature of LUT files, your purchase once sent is final and cannot be refunded. Thank you for your understanding.
Each camera series pack contains LUTs for all the profiles listed under the name. You can read the Setup Guide for each camera prior to purchasing the LUTs to make sure that your camera is supported and set up correctly.
Purchase grants you a personal licence to use Leeming LUT Pro™ on three devices. For use with more devices, please contact Visceral Psyche Films for bulk discount pricing. You may not upload the LUTs anywhere, share them with other people or incorporate them into other LUTs for derivative use (i.e. making creative LUTs using Leeming LUT Pro™ as the underlying base), whether they be for sale or not. Please respect the work that has gone into the LUTs and support those supporting you.
Please Read
1. LUTs are manually emailed to you as a ZIP file from leeminglutpro@visceralpsyche.com. Please be patient as it can sometimes take a few hours between buying and receiving the LUTs depending on the time zone difference (I'm in Japan).
2. Make sure your PayPal email address is up to date, as this is where your LUTs will be sent.
3. Make sure you can accept ZIP attachments to your email address (up to about 10MB).
4. If you haven't received your LUTs within 24 hours, please check your spam folder (Microsoft accounts in particular).
5. If you still can't find them, contact me with an alternative email address or via Facebook before opening a PayPal case.
6. If you pay with an eCheque through PayPal, your LUTs will not be sent until the eCheque has cleared, which usually takes a few days.
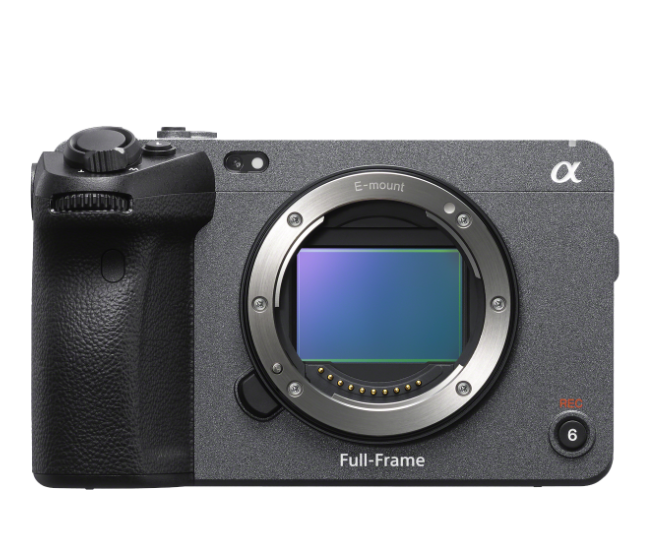 |
Sony Picture Profiles S-Log3, S-Log2, HLG3, Cine2 Pro, S-Cinetone |
Setup Guide (PDF) | USD 39.99 |
|
|---|
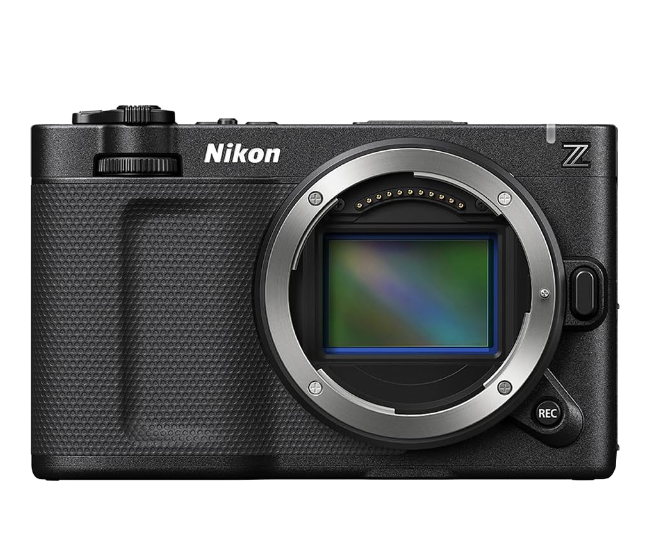 |
Nikon Z N-RAW, N-Log, NEV to R3D, Flat, HLG |
Setup Guide (PDF) | USD 39.99 |
|
|---|
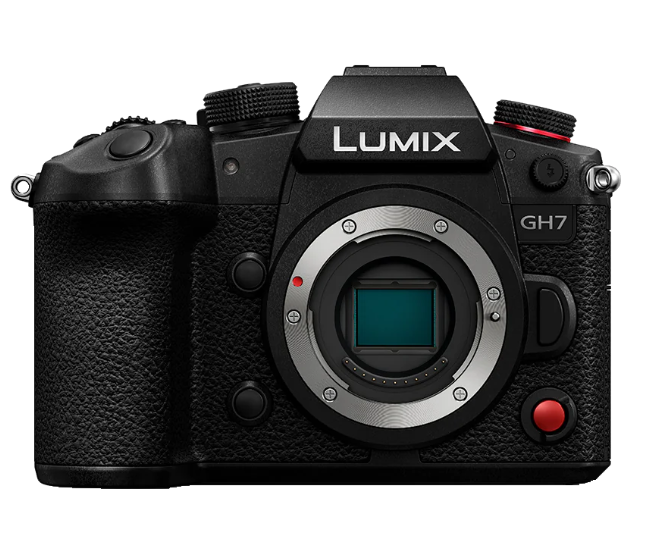 |
Panasonic G V-Log, V-LogL, Arri LogC3, Cine-D, Cine-D2, HLG, BRAW, ProResRAW |
Setup Guide (PDF) | USD 39.99 |
|
|---|
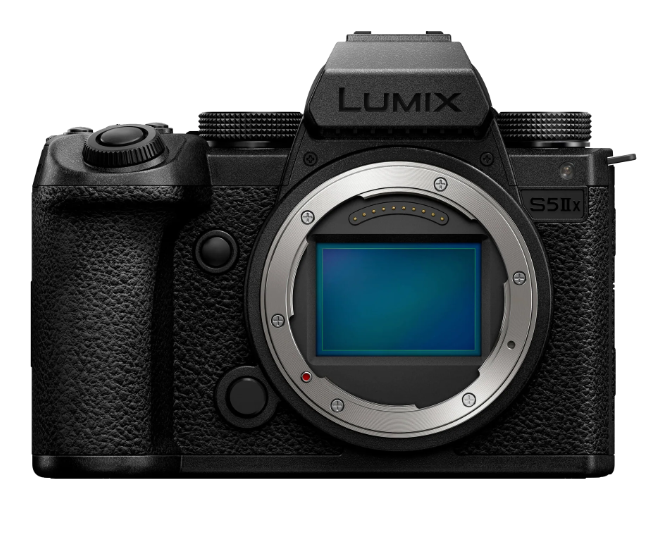 |
Panasonic S V-Log, Cine-D2, HLG, BRAW, ProResRAW |
Setup Guide (PDF) | USD 39.99 |
|
|---|
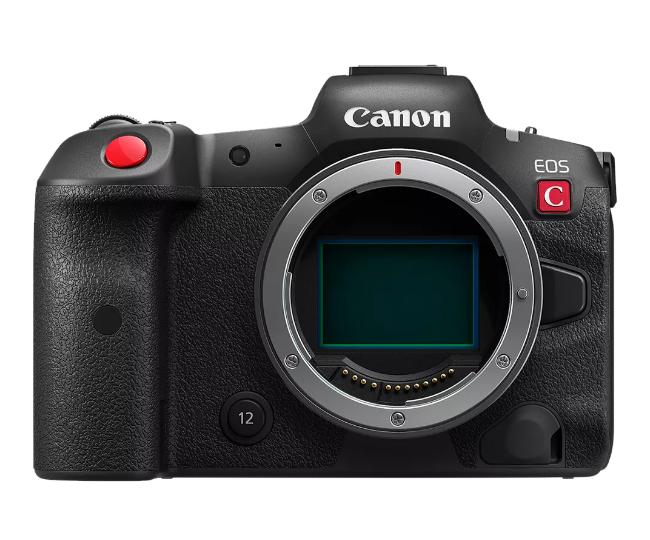 |
Canon EOS C-Log, C-Log2, C-Log3, C-Log3 R, BT709 Wide DR, Faithful |
Setup Guide (PDF) | USD 39.99 |
|
|---|
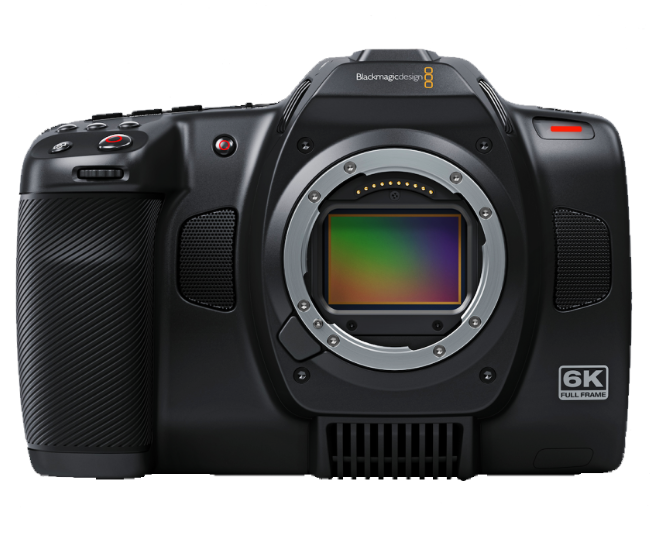 |
Blackmagic Design Gen4 / Gen5 Gen4 Film, Gen5 Film |
Setup Guide (PDF) | USD 39.99 |
|
|---|
 |
Blackmagic Design Gen1 Gen1 Film |
Setup Guide (PDF) | USD 39.99 |
|
|---|
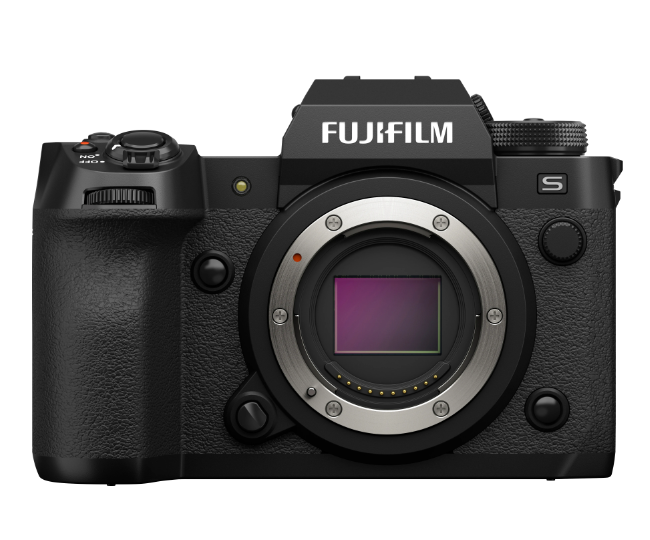 |
Fujifilm X F-Log2, F-Log, Eterna Cinema, Pro Neg Std, HLG, BRAW, ProResRAW |
Setup Guide (PDF) | USD 39.99 |
|
|---|
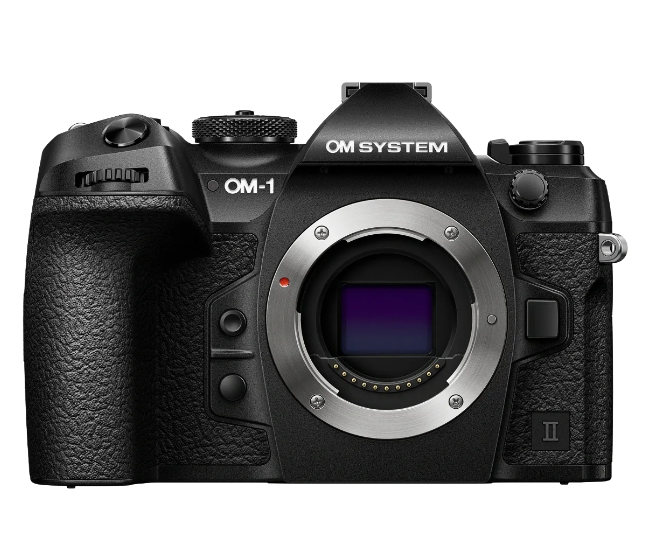 |
OM System Olympus OM-Log400, HLG, ProResRAW |
Setup Guide (PDF) | USD 39.99 |
|
|---|
 |
Sony Legacy Styles Standard, Neutral |
Setup Guide (PDF) | USD 39.99 |
|
|---|
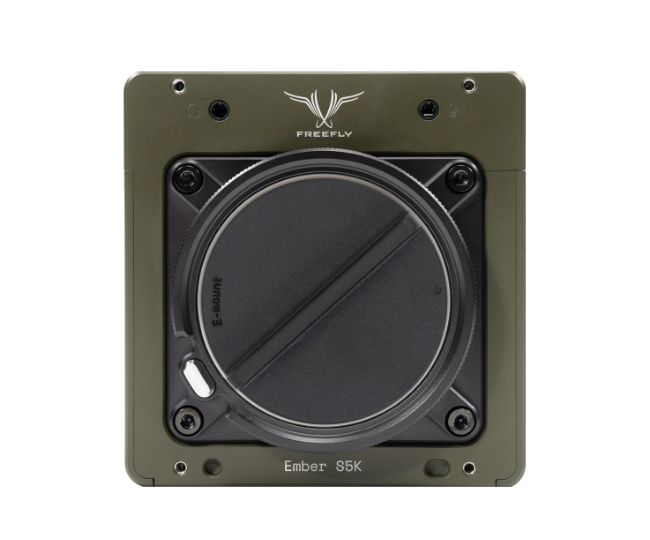 |
Freefly Ember S5K Rec709, HLG |
Setup Guide (PDF) | USD 39.99 |
|
|---|
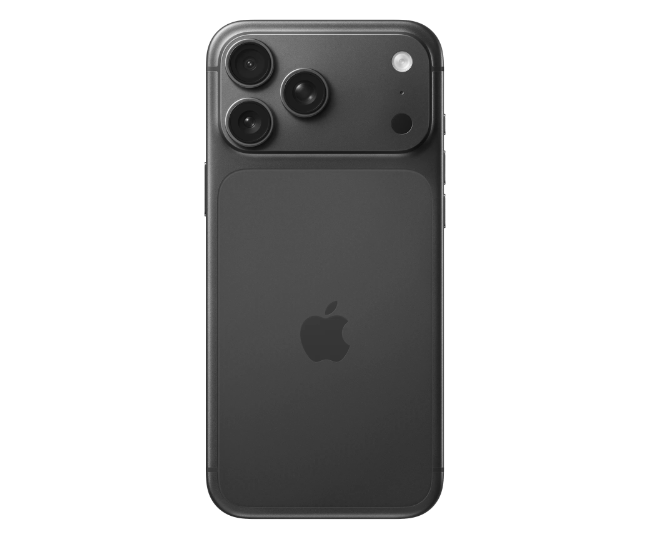 |
Apple iPhone Pro 15+ Apple Log, Apple Log 2, Normal |
Setup Guide (PDF) | USD 39.99 |
|
|---|
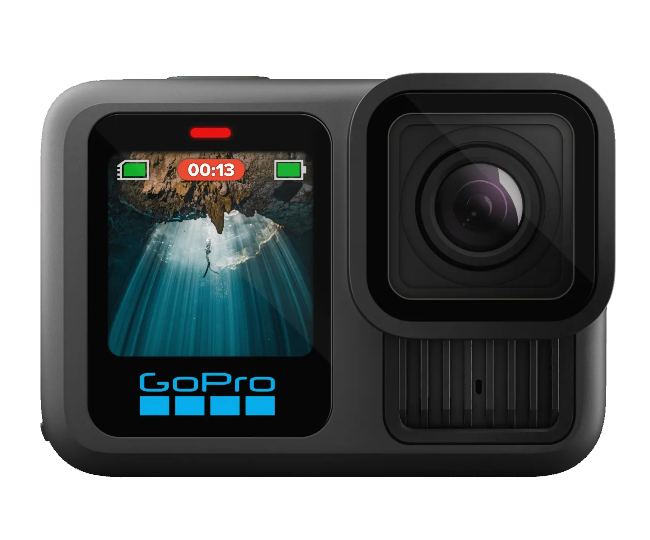 |
GoPro 11 / 12 / 13 / Max 2 GP-Log, Standard Flat, Wide Gamut 400 |
Setup Guide (PDF) | USD 39.99 |
|
|---|
 |
GoPro 9 / 10 ProTune Flat, ProTune Flat Native |
Setup Guide (PDF) | USD 39.99 |
|
|---|
 |
GoPro 8 ProTune Flat, ProTune Flat Native |
Setup Guide (PDF) | USD 39.99 |
|
|---|
 |
GoPro 6 / 7 ProTune Flat, ProTune Flat Native |
Setup Guide (PDF) | USD 39.99 |
|
|---|
 |
GoPro 4 / 5 ProTune Flat, ProTune Flat Native |
Setup Guide (PDF) | USD 39.99 |
|
|---|
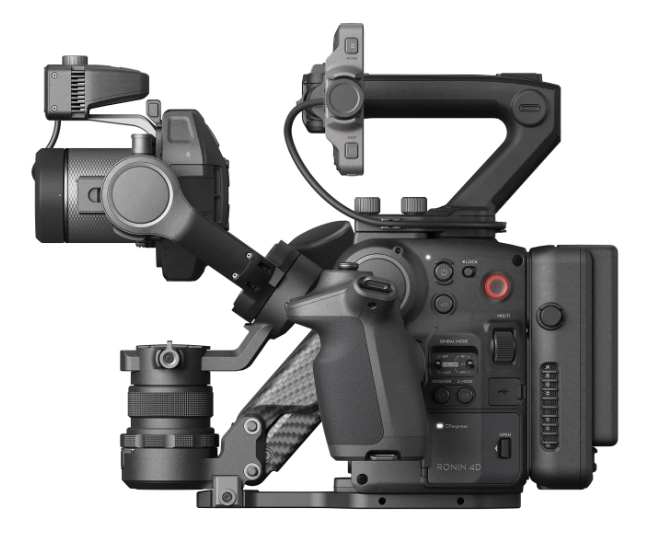 |
DJI Ronin 4D D-Log, ProResRAW |
Setup Guide (PDF) | USD 39.99 |
|
|---|
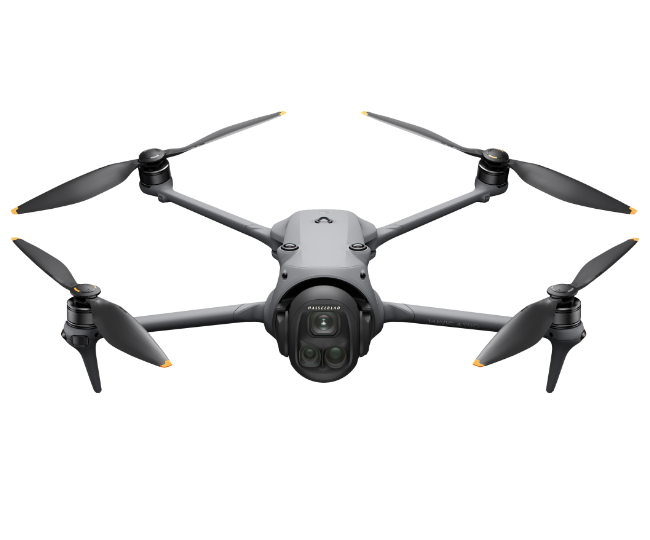 |
DJI Mavic 4 Pro D-Log, D-Log M, HLG, Normal |
Setup Guide (PDF) | USD 39.99 |
|
|---|
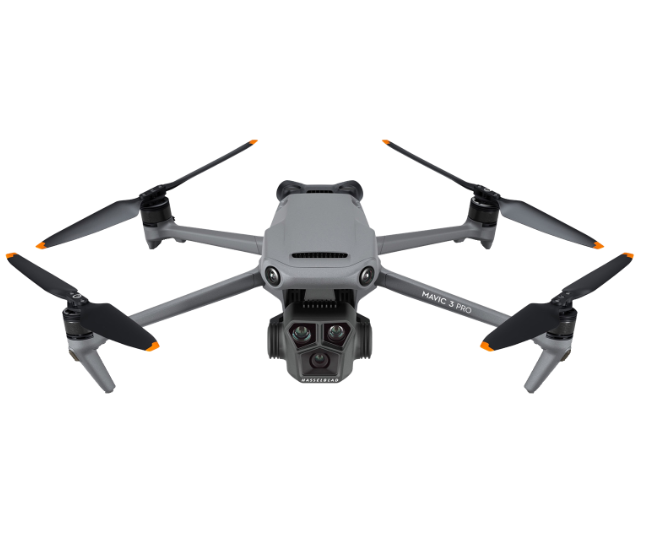 |
DJI Mavic 3 Pro D-Log, D-Log M, HLG, Normal |
Setup Guide (PDF) | USD 39.99 |
|
|---|
 |
DJI Inspire 2 X5S D-Log, Normal |
Setup Guide (PDF) | USD 39.99 |
|
|---|
 |
DJI Phantom 4 Pro D-Log, D-Cinelike |
Setup Guide (PDF) | USD 39.99 |
|
|---|
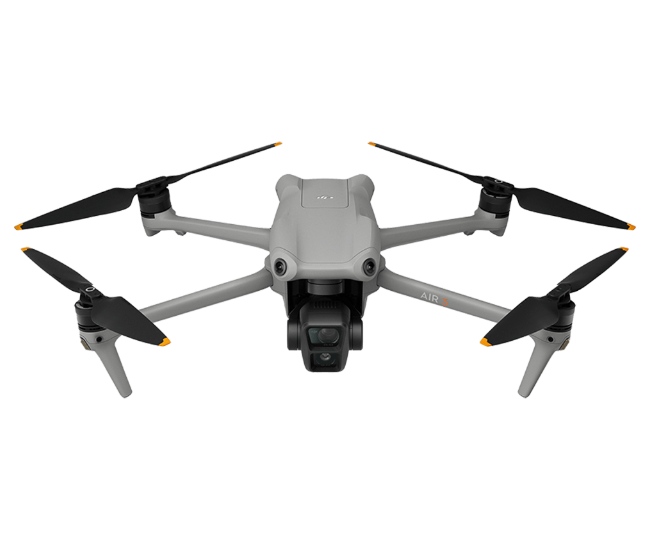 |
DJI Air 3 D-Log M, HLG, Normal |
Setup Guide (PDF) | USD 39.99 |
|
|---|
 |
DJI Air 2S D-Log M, HLG, Normal |
Setup Guide (PDF) | USD 39.99 |
|
|---|
 |
DJI Mavic 2 Pro D-Log M, HLG, Normal |
Setup Guide (PDF) | USD 39.99 |
|
|---|
 |
DJI Mavic Air 2 D-Cinelike, Normal |
Setup Guide (PDF) | USD 39.99 |
|
|---|
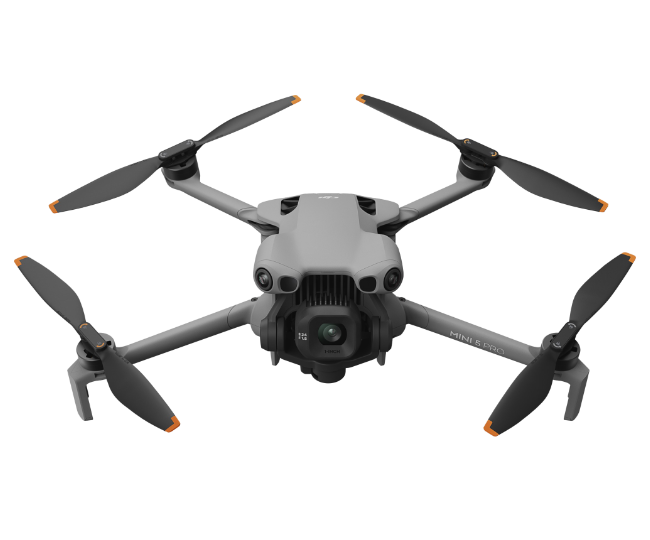 |
DJI Mini 5 Pro D-Log M, HLG, Normal |
Setup Guide (PDF) | USD 39.99 |
|
|---|
 |
DJI Mini 4 Pro D-Log M, HLG, Normal |
Setup Guide (PDF) | USD 39.99 |
|
|---|
 |
DJI Mini 3 Pro D-Cinelike, Normal |
Setup Guide (PDF) | USD 39.99 |
|
|---|
 |
DJI Mini / Mini 2 Standard |
Setup Guide (PDF) | USD 39.99 |
|
|---|
 |
DJI Mavic Air D-Cinelike |
Setup Guide (PDF) | USD 39.99 |
|
|---|
 |
DJI Mavic Pro D-Log, D-Cinelike, Normal |
Setup Guide (PDF) | USD 39.99 |
|
|---|
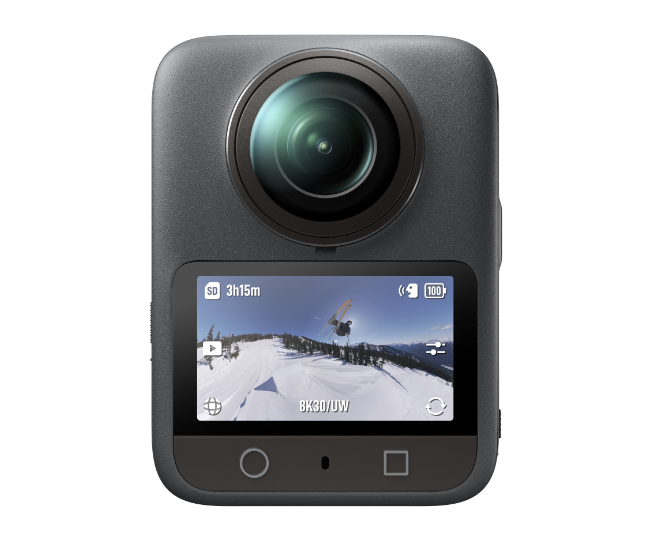 |
DJI Osmo 360 D-Log M, Normal |
Setup Guide (PDF) | USD 39.99 |
|
|---|
 |
DJI Osmo Pocket 3 D-Log M, HLG, Normal |
Setup Guide (PDF) | USD 39.99 |
|
|---|
 |
DJI Osmo Pocket 2 D-Cinelike, HDR, Normal |
Setup Guide (PDF) | USD 39.99 |
|
|---|
 |
DJI Osmo Pocket D-Cinelike, Normal |
Setup Guide (PDF) | USD 39.99 |
|
|---|
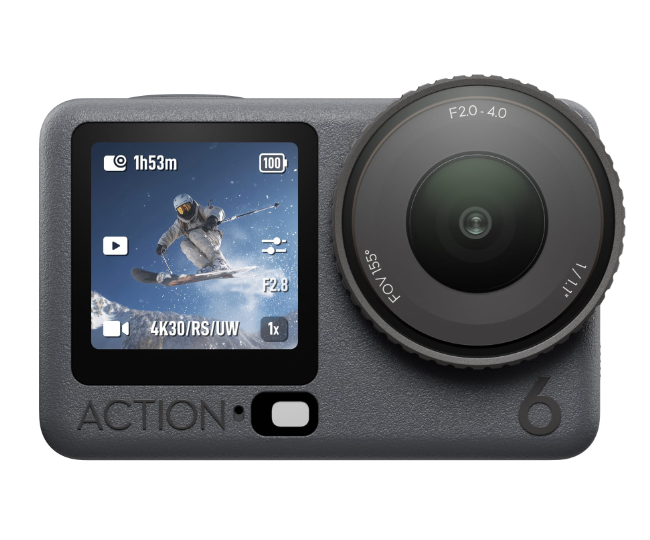 |
DJI Osmo Action 6 D-Log M, Normal |
Setup Guide (PDF) | USD 39.99 |
|
|---|
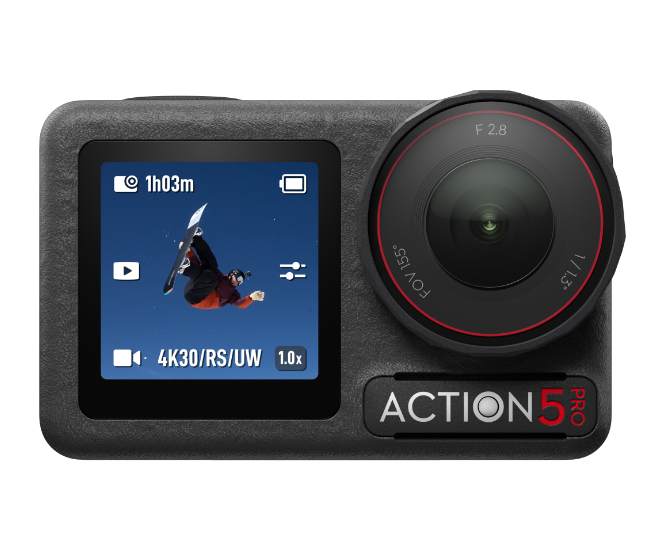 |
DJI Osmo Action 5 Pro D-Log M, HLG, Normal |
Setup Guide (PDF) | USD 39.99 |
|
|---|
 |
DJI Osmo Action 4 D-Log M, Normal |
Setup Guide (PDF) | USD 39.99 |
|
|---|
 |
DJI Osmo Action 2 / 3 D-Cinelike, HDR, Normal |
Setup Guide (PDF) | USD 39.99 |
|
|---|
 |
DJI Osmo Action D-Cinelike, Normal |
Setup Guide (PDF) | USD 39.99 |
|
|---|
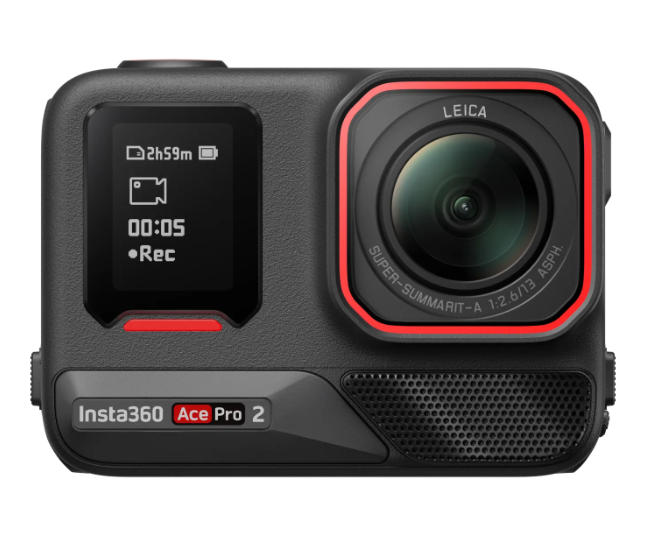 |
Insta360 Ace Pro 2 I-Log, Flat, Standard |
Setup Guide (PDF) | USD 39.99 |
|
|---|
 |
RunCam 5 Orange Normal, Flat |
Setup Guide (PDF) | USD 39.99 |
|
|---|
 |
JVC J-Log1, HLG, Standard |
Setup Guide (PDF) | USD 39.99 |
|
|---|
 |
DJI X5 Series D-Cinelike |
Setup Guide (PDF) Legacy v601 |
USD 39.99 |
|
|---|
Quickie Creatives™
While Leeming LUT Pro™ will get you to a neutral, corrected colour image with a single click, many users have asked for additional, stylised looks to help get to a finished image more quickly. Quickie Creatives™ are high quality, professional film looks designed to work in perfect harmony with the corrective LUT baseline. You can see samples of the LUTs in the following video as well as embedded in the Setup Guide PDF linked below:
 |
Quickie Creatives |
Setup Guide (PDF) | USD 39.99 |
|
|---|
Video Consultation
If you prefer a one-to-one video consultation about LUTs, workflow, or anything else related to the process of getting the best images out of your camera, I now offer two hour session blocks to assist you. Please contact me first to arrange a time and date for the consultation. Once we have agreed on the specifics, come back here to make the payment.
 |
Video Consultation |
Two hour session | USD 99.99 |
|
|---|
Custom LUTs
I also provide a custom LUT service whereby you can request a specific look based on my corrective LUTs with additional creative elements, or any other customisations you wish. Please contact me first to let me know your requirements. Once we have agreed on the specifics, come back here to make the payment.
 |
Custom LUT |
Tailored to your requirements | USD 99.99 |
|
|---|
Tip Jar
If you want to thank me beyond buying the LUTs, as more than a few of you have requested, you can now use the dropdown box below to select a tip amount and optionally write a short message in the text field. Thank you so much to all of you who send me lovely messages of appreciation - I'm always happy to receive them and it really is enough just to know I'm helping people achieve better colour for their cameras! But for those who really want to tip me extra for helping make their lives so much easier, you now have the option. Thank you! :)
 |
Tip |
|
|---|
Using the LUTs
1. Buy the appropriate LUTs for your camera(s).
2. Set up your camera using the included Setup Guide (linked above next to the purchase options and in your LUT purchase email).
3. Read the Installation Guide (PDF) for how to install and use the LUTs in your editing software.
4. White balance each camera using a spectrally neutral white or grey balance card.
5. Watch my short video on How To ETTR and shoot using the ETTR principles for maximum dynamic range and quality.
6. Apply Leeming LUT Pro™ to your footage to correct and normalise it to a common baseline.
7. Optionally purchase the Quickie Creatives™ for some high quality, professional looks designed to work perfectly with the corrective LUTs.
How To Shoot Using ETTR Principles
Exposing To The Right ( ETTR ) after white balancing is the way we maximise the camera's dynamic range and tonality while minimising shadow noise. To do this successfully and efficiently, we require some visual tools to help us in camera.
The main tools to judge exposure on a video camera are, generally speaking:
- Zebras - rolling 45° black lines over areas that exceed the set exposure level.
- Histogram - a horizontal graph showing exposure on the X axis, and the percentage of image exposed at each level on the Y axis.
- False Colour - differently coloured areas depending on underlying exposure level.
On most prosumer cameras, the zebras and histogram are the only tools available, so it is these I will concentrate on.
For cameras with zebras (my recommended tool for ETTR), you can use them to easily see what parts of your image are overexposed, and adjust accordingly:
If you can't view the video, here's a graphical summary:
 |
Overexposed | With the zebras set to the recommended values for your camera from the setup guide, any overexposure will result in the zebras overlaying the affected areas, as shown here. The big advantage over the histogram is that the zebras will show you which areas of the image are overexposed, so you can make decisions based on what parts, if any, you will let clip ( such as streetlights etc ), and which parts need to be retained ( the sky, building walls etc ). |
|---|
 |
Exposed To The Right (ETTR) | As you can see, we have adjusted the brightness of our image ( by closing the lens iris, lowering the ISO or adjusting the shutter angle ) until the zebras have just disappeared, but the histogram is still ETTR. This is the sweet spot where we can get maximum dynamic range from our image with minimal noise. |
|---|
The following diagram shows you what to look for when using your histogram to Expose To The Right, if zebras are not available:
 |
Underexposed | This is the worst result, as it is severely underexposed and will result in a very noisy, low dynamic range image when normalised. Shadows are clipped to black and will be unrecoverable or highly noisy. If you can, raise the ISO to a higher value to help brighten the whole image so that it looks closer to one of the following histograms. |
|---|
 |
Exposed To The Right (ETTR) | This is a good ETTR exposure plot (example only - your histogram will look different depending on the scene). The histogram is biased to the right, but the highlights remain within bounds and are not clipped. In post-production it is a simple process to reduce exposure and levels back to neutral, with the advantage that noise will be much lower and tonality will be improved over shooting the same scene with a neutral histogram. |
|---|
 |
Overexposed | The highlights have been pushed too far to the right, to the point where they have been clipped to white. You will not be able to recover them, resulting in a lack of highlight definition and a very video-like image if the sky is the clipped portion of the shot. Check to see if you can use a lower ISO setting to help minimise noise and pull back the clipped values into the legal range. |
|---|
Master the histogram or zebras and you will quickly nail the correct ETTR exposure, all while maximising dynamic range and minimising noise.
If you are interested in learning more about how ETTR works at a technical level, and why it is the right way to expose for maximum dynamic range, you can read more here.
Supported Editing Software
- Davinci Resolve
- Adobe Creative Cloud
- Final Cut Pro X
- Magix Vegas
- Avid Media Composer
- Grass Valley Edius
- Lightworks
- Hitfilm
- Cyberlink PowerDirector
- LumaFusion
- Any other software which is compatible with a 33x33x33 .cube LUT file
Supported External Recorders ( Using Legal Range Input )
- Atomos (Ninja V, Shogun, Assassin, Inferno, Flame, Sumo, Shinobi)
- Video Devices (PIX-E)
- Convergent Design (Odyssey, Apollo)
- Blackmagic Design (Video Assist)
ETTR Theory
The foundation of Leeming LUT Pro™ is shooting for maximum dynamic range while retaining highlight information by Exposing To The Right ( ETTR ), but not overexposing. This highlight retention is critical in making an image look filmic while minimising sensor noise, but why is it the best technique to use for video?
To understand ETTR, we need to look at digital sensors and how they work.
First, you need to adjust your brain to think in binary, not base 10! ( Don't worry, I'll try to make it easy with the examples below )
Let's say you have an 8 bit camera, and the sensor happens to have exactly 8 stops of dynamic range ( for the exercise ). So each stop uses one extra binary bit in describing each of the R G B channels, in linear space.
At the bottom stop you can only 'flip' a single bit, giving you the following eight options to describe the colour Red, for example:
00000000 00000000 00000000 ( 0, 0, 0 Black in base10 )
00000001 00000000 00000000 ( 1, 0, 0 Red in base10 )
00000000 00000001 00000000 ( 0, 1, 0 Green in base10 )
00000000 00000000 00000001 ( 0, 0, 1 Blue in base10 )
00000000 00000001 00000001 ( 0, 1, 1 Cyan in base10 )
00000001 00000001 00000000 ( 1, 1, 0 Yellow in base10 )
00000001 00000000 00000001 ( 1, 0, 1 Pink in base10 )
00000001 00000001 00000001 ( 1, 1, 1 White in base10 )
Now, the sensor-to-digital-signal conversion has to decide which of the eight potential values is the correct one. If the red you see with your eyes is just a smidgen closer to green than to red, for example, the conversion might decide that the single bit it has control over should go in the Green column. But because we are at the bottom stop, it has no colour depth to be subtle, so it can only choose full-on green. We see this as a noisy, green pixel on our screens. Even if it were to pick correctly, we'd see a full-on red pixel on our screens, even if the true colour was not so saturated or bright.
So every possible colour at the bottom stop, from the billions we can see with our eyes, can only be represented with eight binary ( digital ) values. In other words, terrible colour depth and resolution.
As you move up a stop, you get more possible combinations to represent your colours (you can 'flip' up to two bits):
00000000 00000000 00000000
00000001 00000000 00000000
00000010 00000000 00000000
00000011 00000000 00000000
...and so on.
Now you have slightly more values with which to describe your colour.
As you can see though, as you go up each stop, you quickly ( and exponentially ) get a lot more possible binary combinations with which to describe your colour, meaning more colour precision ( or resolution or bit depth ) and hence, less visual noise.
The top stop ( closest to the highlights ) contains fully half of the available possible colour values, in binary ( digital ) form, because we can flip each of the 8 bits on or off for each of the R G B channels.
So for linear space digital recording, if you underexpose by even one stop compared to full ETTR principles, you are effectively throwing away half of your colour resolution ( tonality ) because those potential high resolution values are sitting idle.
A Brief History
The original LUT came about after Panasonic's V-Log L release for the GH4 camera was shown to be less than stellar for internal, 8 bit 4:2:0 recording to the SD card, with visual errors like YUV chroma smearing on many flat surfaces, baseline colour shifts and reduced tonal range compared to the linear profiles. The fix, after lots of testing and tweaking, was Leeming LUT Pro™, a superior colour and tone accurate LUT designed for the GH4's internal Cinelike-D profile, correcting the profile to a proper Rec709 colour matrix, while avoiding the need for, and issues of, V-Log L ( saving you $99 ), ready for creative grading to begin.
Now the LUT has been expanded to support additional cameras, providing a one stop shop for bringing all supported camera types to the same starting point for grading, while maximising each camera's internal settings to get the best dynamic range and colour tonality out of them.
The LUT Development Process
The philosophy is simple. Find the camera settings that give the best dynamic range and latitude, then develop a LUT to correct the colours to Rec709 as well as minimising colour noise, all while retaining beautiful, filmic skin tones for narrative shooting. Finally, make sure each camera's LUT output matches between them, so you can shoot different cameras and easily get to a common baseline in post with just the initial LUT application.
LUTs are specifically crafted for each individual camera. The first step in creating a LUT for a camera is to determine the best settings that maximise dynamic range, bearing in mind that the flattest profile isn't necessarily the best, if it limits the tonal range or causes errors such as banding, or YUV chroma smearing etc. Bit depth is a big factor here, as most cameras record internally using 8 bit colour depth. If there are not enough values assigned to the image ( such as the case of internal, 8 bit logarithmic recording ) then it is better to use one of the linear profiles that make full use of the available encoding bits.
Once the optimal recording settings have been determined for each camera, the LUT is developed to bring the camera's recorded image to a standard, Rec709 baseline image that retains all the dynamic range while fixing any colour errors and minimising noise. This LUT is also designed to make the image feel as filmic as possible within the Rec709 parameters. In other words, the intent is not only to make a proper Rec709 output, but have it feel closer to celluloid film than a harsh video output.
Finally, the LUT is extensively tested with all sorts of different conditions, to make sure it behaves consistently and without rendering errors. Only once those tests are complete, does the LUT join the Leeming LUT Pro™ family. If any subsequent bugs are found, the issue is fixed and updates are sent out to all owners of that LUT for free, to ensure you are always using the latest version.
I am confident you will find this the best LUT to begin your grading workflow. Anything less and I wouldn't have put my name on it!
Contact
Email: leeminglutpro@visceralpsyche.com (fastest response)
Facebook: Leeming LUT Pro™ discussion group
Paying With Bitcoin
1. Tally up the cost of the LUT(s) you would like to purchase and make a note of the number.
2. Convert that number (in AUD) to BTC and send that amount to the following address:

1FyjJi9S1qP4yRKEw2AzdbUtSG2muq7pRa
3. Send an email to leeminglutpro@visceralpsyche.com noting the LUT(s) you wish to buy and your BTC transaction number.
4. Once the transaction is confirmed (which may take some time depending on how much you paid for the mining fee) I will send you your LUTs as normal.
Special Thanks
I owe a special debt of gratitude to the following people for their help and assistance in developing the various LUTs here, so please be sure to support them and say thank you for their efforts!
Mark Bennett's Camera Crisis - for the great video tutorials and reviews.
Jon Pais of The Daejeon Chronicles - for the great video tutorials and reviews.
Lee Powell - for the JVC GY-LS300 and his awesome image hacking work with the Panasonic GH2.
Anthony Burokas - for the fantastic Panasonic GH4 Technical Group on Facebook.
Darius Küller - for the Canon 700D and his BTS video support.
Paal Rasmussen - for the Panasonic G7 and FZ300.
Sam Czerwonka - for the Panasonic G7.
Tom Power & Stefan Roda - for the Sony RX10 II.
Jim Robinson & Christian Fiore - for the Sony A6300.
Ibán García - for the Sony A7S.
Leo James - for the Sony A7S II.
Ivan Kovac - for the Sony A7R II.
Martin Kinitzki - for the GoPro Hero4.
Robin Hancill - for the Panasonic G80.
Arlene Nelson - for the Canon 5D MkIV.
Mike Nelson & Waka Yogi - for the DJI Zenmuse X5.
Mike Nelson & Tom Curran - for the Panasonic Varicam LT.
David Peter - for the GoPro Hero5.
Andrei Bratila - for the GoPro Hero4 Session.
Andrew Reid & Trevor Mander - for the Panasonic GH5S.
Abdurrahim Gulten - for the DJI Mavic 2 Pro.
Tim Manders & Cinematic Wedding Nederland - for the DJI Phantom 4 Pro.
Vojtech Pokorny - for the Video Devices PIX-E series 4K recorders for testing.
Jack Tunnicliffe - for the DJI Inspire 2 X5S.
Sol March, Vladimir Khodakovsky, Vincent Follézou, Tim Fassnacht, Richard Lincheta, Christopher Mayer, Joseph Moore, David Rokeby, rocketrooster.ninja, Karin Gottschalk, Fabian Betto for beta testing and other help.